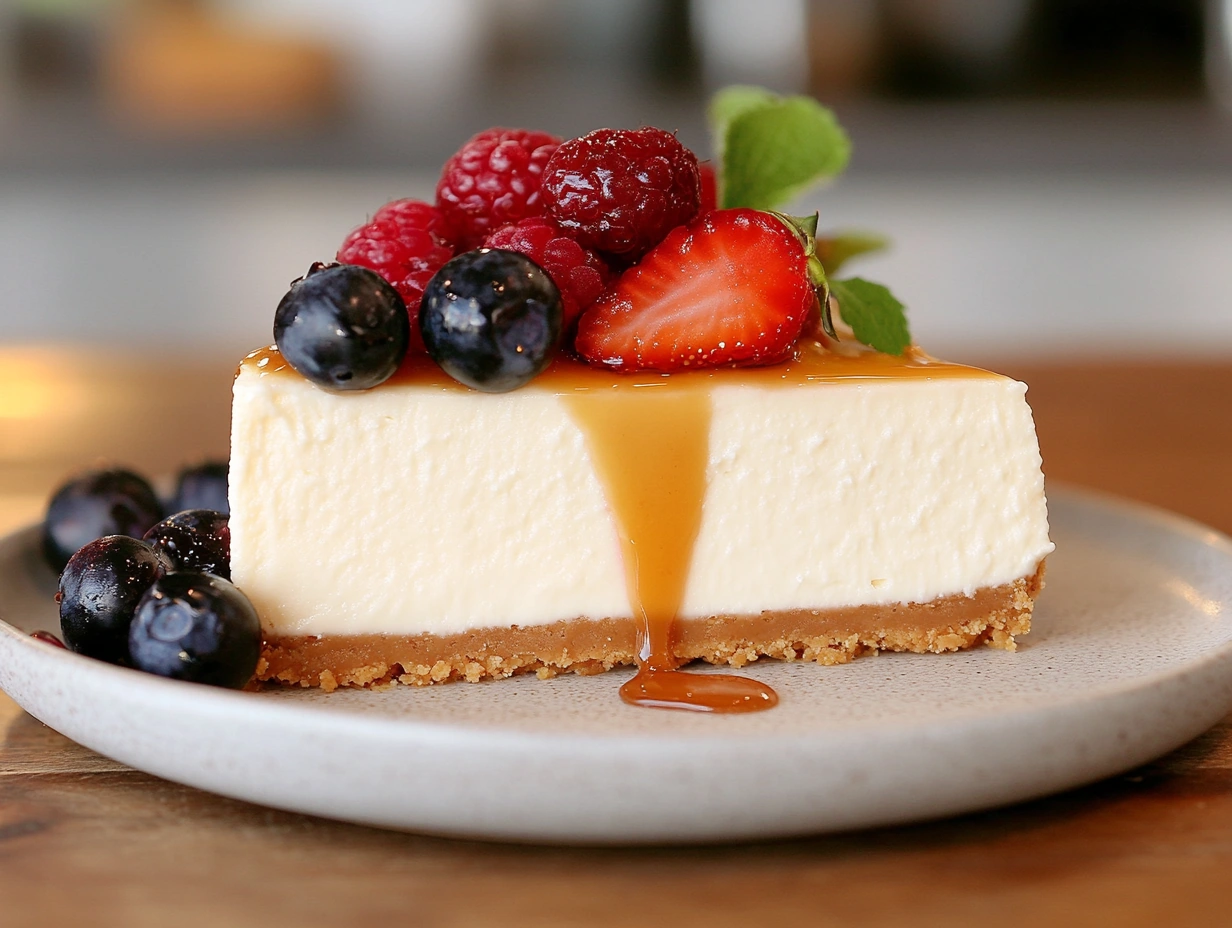
Philadelphia cheesecake filling stands out with its lighter, creamier texture compared to the denser New York style. The classic recipe needs just three basic ingredients: cream cheese, sugar, and eggs.
The perfect Philadelphia cheesecake depends on understanding a few simple techniques. The recipe looks deceptively easy with its short ingredient list. However, you need precise temperature control and careful mixing to achieve that smooth, crack-free texture. Let me share everything I’ve learned about creating the smoothest, most delectable Philadelphia cheesecake filling that works every time.
In This Article
Essential Ingredients for Perfect Philadelphia Cheesecake Filling
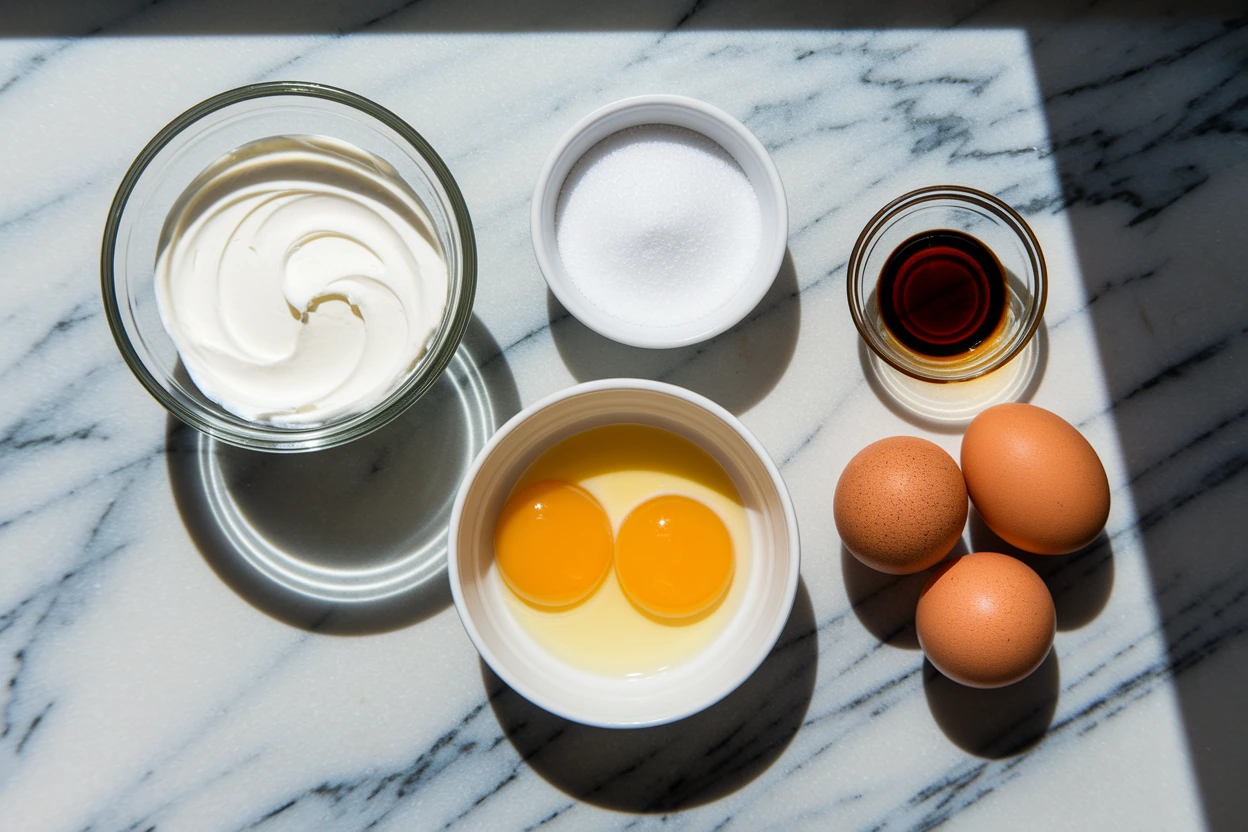
A perfect Philadelphia cheesecake filling needs three core ingredients handled the right way. Each ingredient plays a vital role to create that signature smooth, creamy texture that melts in your mouth.
The role of cream cheese temperature
Full-fat brick-style cream cheese is the base of Philadelphia cheesecake filling. A standard recipe needs four 8-ounce bricks, which adds up to 2 pounds of cream cheese. The cream cheese’s temperature makes a big difference. Room temperature cream cheese blends better with other ingredients and creates an even texture throughout the cheesecake. Take the cream cheese out of the fridge at least an hour before you start.
If you’re short on time, spread a thin layer of cream cheese on a plate and cover it with plastic wrap near a warm spot. Then scrape and repeat until all the cream cheese reaches the right temperature. Cold cream cheese will give you lumpy batter that can ruin your dessert.
Sugar types and their effects
Sugar’s type and amount affect both texture and taste by a lot. One cup of granulated sugar gives the perfect balance of sweetness and tanginess. Granulated sugar does two jobs – it sweetens the filling and helps mix air into the batter by cutting through the cream cheese fat.
Don’t use powdered sugar as a substitute. While it might seem easier, powdered sugar has cornstarch that can make your cheesecake too dense and likely to crack. Sugar granule size affects how well air mixes into the batter. Bigger granules create more air pockets that help build the texture you want.
Choosing the right eggs
Eggs are the vital ingredient that gives structure to your Philadelphia cheesecake filling. A classic recipe calls for three large room temperature eggs. Your eggs’ temperature matters just as much as the cream cheese – cold eggs can create an uneven, chunky batter.
Add eggs one at a time and beat until just mixed. This stops over-mixing that can whip too much air into the batter. Extra air causes two problems: cracks during baking and deflating as the cheesecake cools.
Lightly scramble each egg before adding it to your mixture to get the best results. Keep your mixer speed low and stir until the egg barely combines. This gives you better control over mixing and prevents over-beating that can hurt the final texture.
Your Philadelphia cheesecake filling’s success depends on these three ingredients being at room temperature before mixing. Plan ahead and take all ingredients out of the fridge at once to let them warm up naturally. This simple step helps your ingredients blend smoothly and creates that signature velvety Philadelphia cheesecake filling.
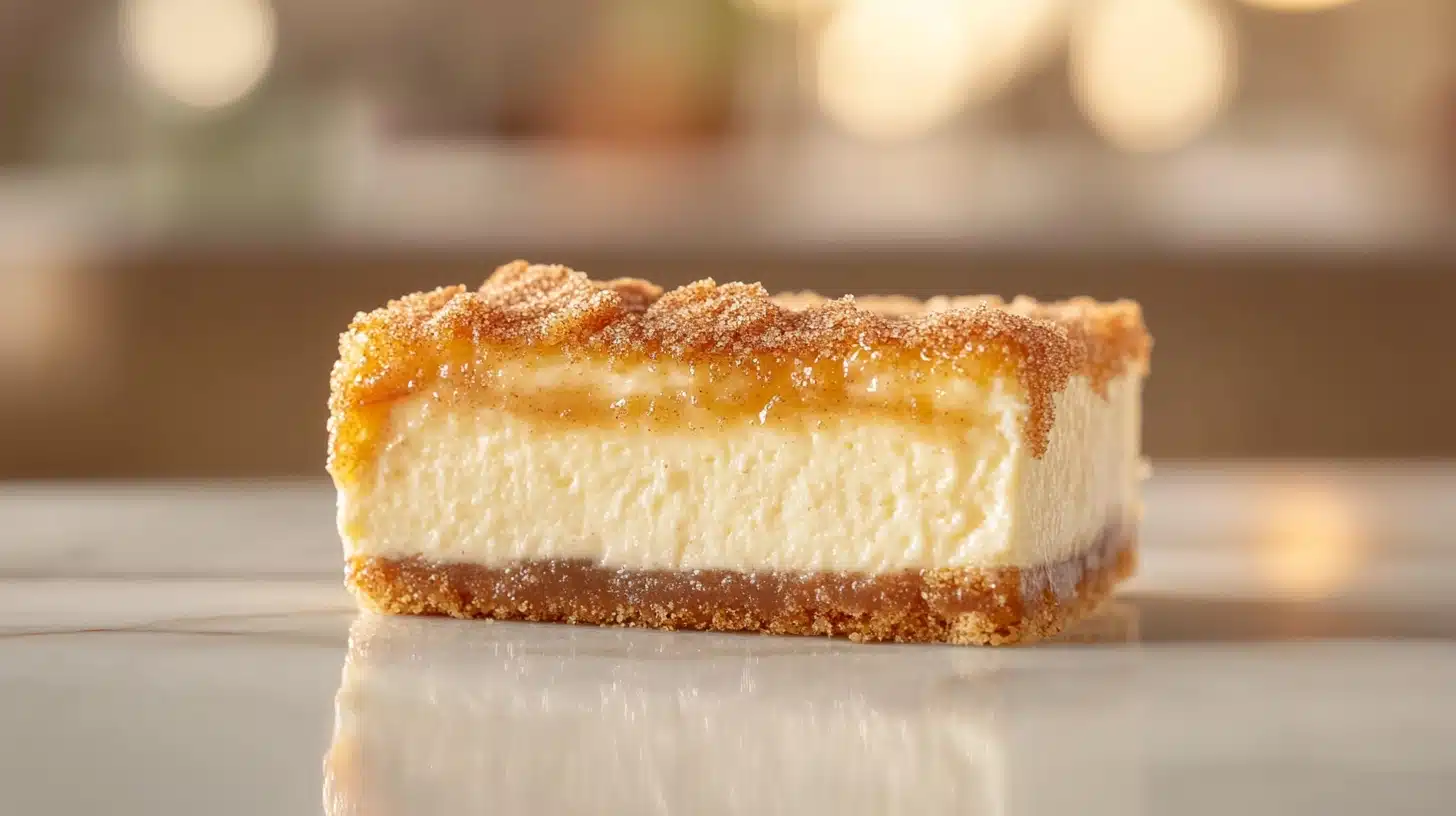
- If you love cheesecake, try this Churro Cheesecake Recipe for a fun twist with a cinnamon-sugar crust.
The Science Behind Smooth Cheesecake Filling
The perfect Philadelphia cheesecake filling comes from understanding the science of protein structures and temperature control. This custard-based dessert needs specific chemical reactions to create its signature smooth texture.
Understanding protein structure
A silky-smooth Philadelphia cheesecake filling depends on how egg proteins behave. These proteins create a delicate web-like structure during cooking that gives the cheesecake its characteristic texture. On top of that, it needs positively charged minerals to help egg yolk proteins bind together. Water and sugar slow this process down to create the perfect balance for a creamy consistency.
The cream cheese proteins are crucial to the filling’s structure. You need to handle these proteins properly to create an emulsion – where fat and water combine perfectly. The texture depends on the size of fat droplets in this emulsion. Smaller droplets make the filling smoother and more velvety.
The fat content should be 15-60% of the filling’s dry weight. The pH level must stay between 4.6 and 5.1 to maintain the ideal protein structure. This specific pH range helps proteins interact properly and creates that signature tangy taste in Philadelphia cheesecake filling.
Temperature control basics
Temperature management is the life-blood of perfect protein structure. Mix your ingredients between 92°F and 135°F. The temperature should not exceed 144°F or the eggs will cook too soon and create lumps.
The cheesecake should come out of the oven at 145°F (63°C). The filling will still jiggle slightly, but it will finish cooking from the residual heat. This precise temperature control stops the egg proteins from becoming too tight, which would make the texture dry and gritty.
You must cool the cheesecake carefully. Sudden temperature changes will likely cause cracks. Here’s how to cool it down gradually:
- Turn off the oven and let it rest for 30 minutes
- Prop the oven door open slightly and cool for another 30 minutes
- Allow it to reach room temperature (minimum three hours)
The filling needs to chill in the refrigerator for at least 8 hours – preferably overnight – to reach its perfect texture. This long chilling time lets the proteins set completely, which ensures clean slices and perfect creamy consistency.
Making the perfect Philadelphia cheesecake filling requires more than just following a recipe. You need to understand and respect the chemical processes involved. Your filling will be consistently smooth, creamy, and crack-free if you control the temperature precisely and let the proteins structure properly.
Step-by-Step Mixing Technique
The right mixing technique is the life-blood of a perfect Philadelphia cheesecake filling. My years of experience have taught me that proper mixing separates a silky-smooth dessert from a lumpy disappointment.
Proper cream cheese preparation
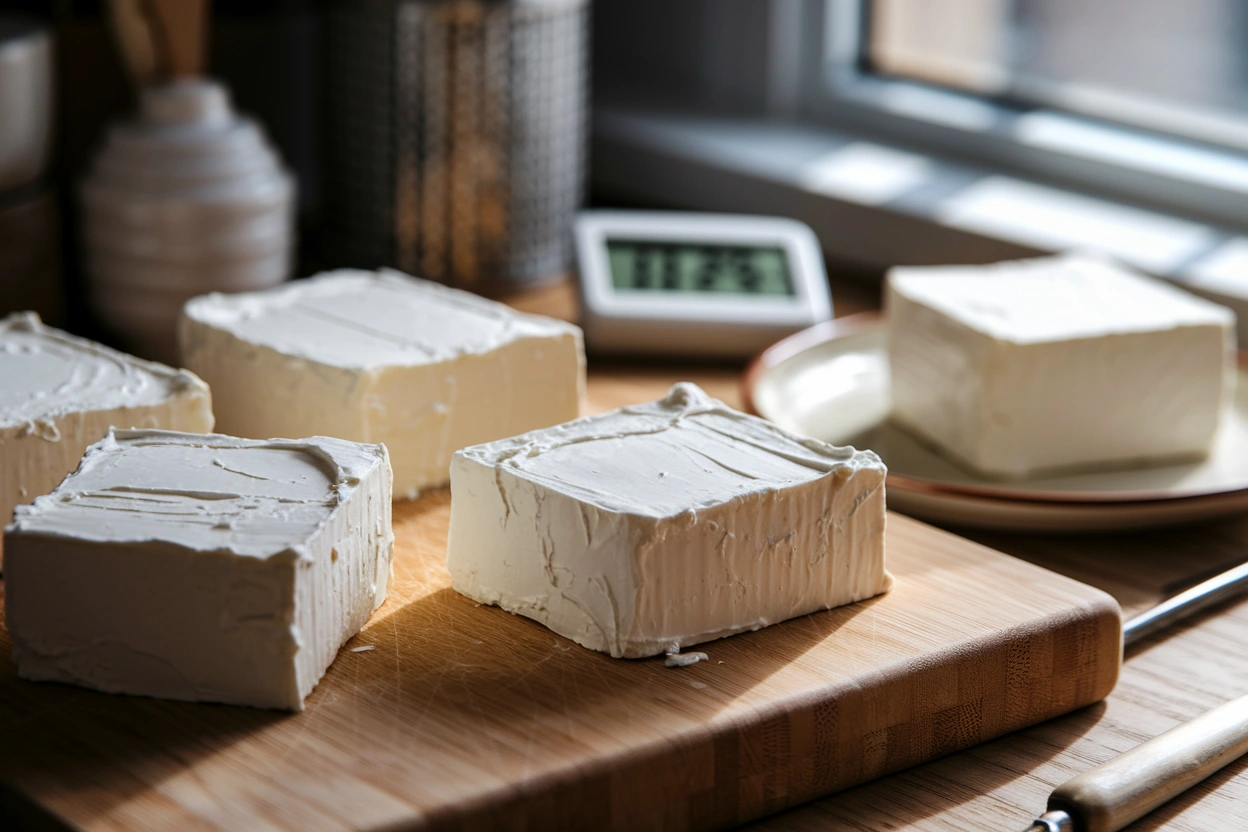
A great cheesecake starts with properly prepared cream cheese. Let your cream cheese reach room temperature by leaving it out for 30 minutes. Short on time? Here’s a reliable microwave method: cut the cream cheese into smaller pieces, place them on a microwave-safe dish, and heat in 15-second intervals at 50% power.
Beat the cream cheese alone using a stand mixer with the paddle attachment on low speed until it becomes smooth and fluffy. Add sugar and mix until well combined. Keep the mixing speed low because higher speeds add too much air, which leads to cracks.
Adding eggs correctly
The next crucial step after achieving a smooth cream cheese base is proper egg incorporation. Add eggs one at a time while mixing on low speed. I’ve found that gently whisking each egg before adding it helps prevent overmixing.
Stop between additions to scrape down your mixing bowl’s sides and bottom. This prevents cream cheese from sticking and creating unwanted lumps in your filling. Mix each egg just until incorporated to avoid whipping extra air into the batter.
Final texture signs
Your Philadelphia cheesecake filling should show specific traits when it’s ready for baking. The batter should have a smooth, glossy appearance. Any lumps at this point mean you should pass the mixture through a sieve or briefly process it in a food processor.
Air bubbles might appear in the batter even with careful mixing. You can fix this by gently tapping the mixing bowl on the counter several times, which allows trapped air to rise and pop at the surface. The final consistency should match thick, creamy frosting.
The best results come from checking these indicators:
- A completely smooth batter without cream cheese lumps
- A silky, glossy appearance
- Thick yet pourable texture
- No visible large air bubbles in the mixture
Note that your filling’s texture at this stage will determine your final cheesecake’s quality. A properly mixed Philadelphia cheesecake filling bakes evenly and creates that characteristic creamy consistency everyone loves.
Common Filling Problems and Solutions
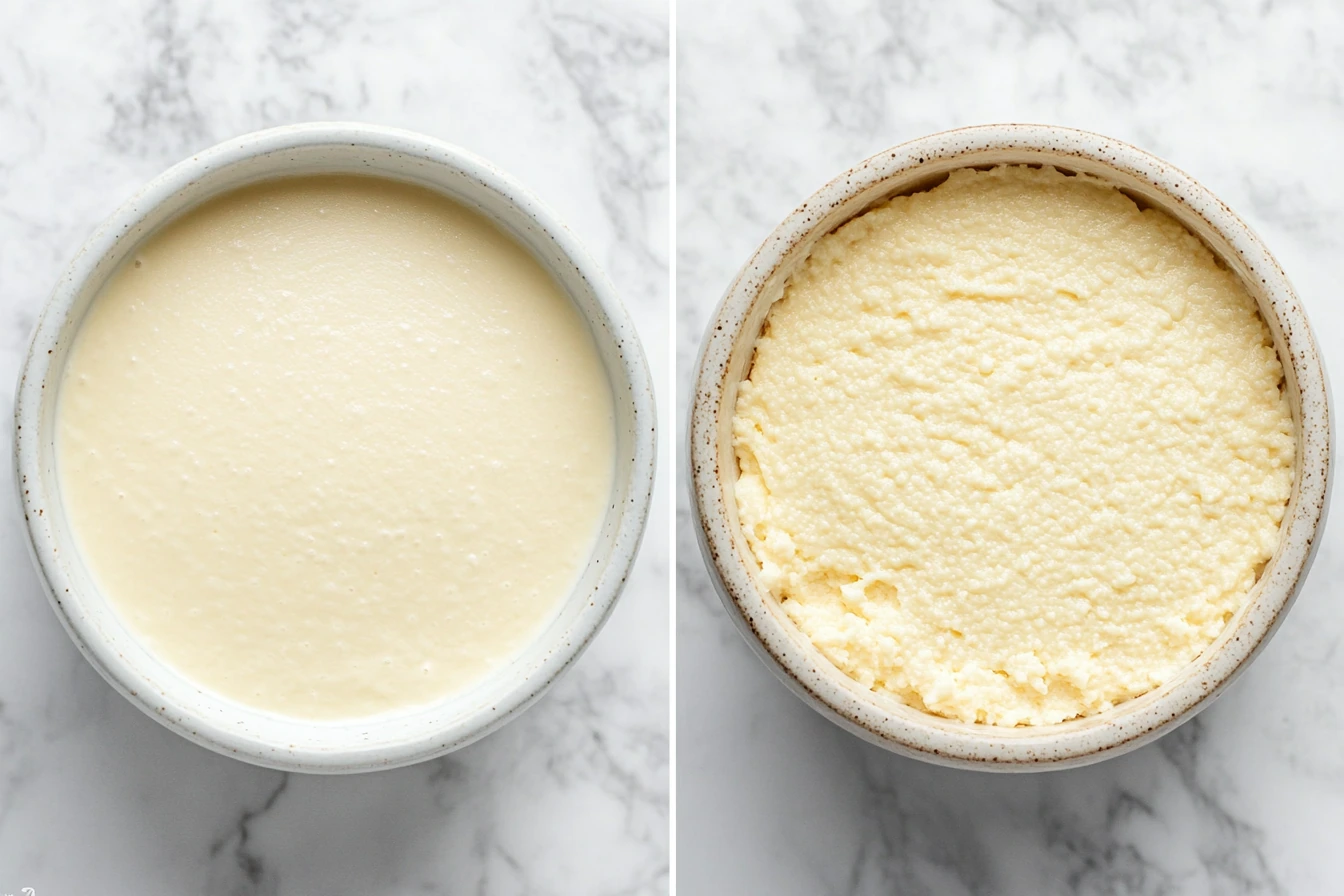
Even skilled bakers run into problems making Philadelphia cheesecake filling. You can save time and ingredients by spotting common issues early and still get professional results.
Fixing lumpy batter
Lumpy cheesecake batter happens when cream cheese doesn’t mix well with other ingredients. The biggest problem? Ingredients that are too cold. Here are proven ways to fix a lumpy batter:
Push the mixture through a fine-mesh sieve and crush stubborn lumps against the mesh. You can also use a rubber spatula to work the lumps against the bowl’s side until they blend into the batter.
The batter might need to rest at room temperature for 30-60 minutes if lumps are hard to fix. Then mix it gently by hand. This lets the cream cheese soften on its own and blend better with everything else.
Preventing curdling
Your filling’s emulsion breaks when it curdles, leaving you with a grainy, separated mess. This usually happens from mixing too much or quick temperature shifts. Here’s how to keep your emulsion stable:
Use only low speed to mix, especially with eggs. Start by beating cream cheese and sugar until they’re light and fluffy before adding anything else.
Temperature control makes all the difference – quick changes can ruin your filling’s structure. Mix everything between 92°F and 135°F. The eggs start cooking too soon if it gets hotter than 144°F, and that messes up the texture.
Addressing texture issues
Wrong ingredient ratios or mixing methods often lead to texture problems. Your filling gets runny if you mix too much or use low-fat ingredients. Here’s how to nail the perfect consistency:
Skip food processors or blenders – they break down the filling’s structure. A hand mixer on low speed works better. Mix just until everything combines.
A bit of cornstarch or cream of tartar can help if your filling turns too soft. In spite of that, using full-fat cream cheese and mixing it right works best.
Take about 5 minutes with a stand mixer to cream the cream cheese and sugar together if you want to avoid grainy texture. Add eggs one at a time and blend each one completely before adding more.
Note that your filling needs time to chill – at least four hours, but leaving it overnight gives the best results. This long cooling time lets proteins set up just right, so you can slice it perfectly.
Learning about these common problems and fixes will give you the tools to handle issues as they pop up. Your Philadelphia cheesecake filling will turn out smooth and creamy every time.
- For another indulgent variation, check out this Cinnamon Roll Cheesecake Recipe combining two classic desserts into one delicious treat.
Professional Tips for Perfect Results
My years of working with Philadelphia cheesecake filling recipes have taught me professional tips about precise temperature control and mixing techniques. These tips will give a consistent, restaurant-quality result every time.
Temperature control secrets
Perfect texture comes from watching specific temperature points throughout the process. The cream cheese needs to stay between 70-75°F (21-24°C). This range will give proper emulsification and stop unwanted lumps from forming.
The best baking results come from this three-step temperature approach:
- Start at 450°F (232°C) for 20 minutes
- Turn off the oven, prop the door open for 10 minutes
- Resume baking at 250°F (121°C) until completion
A denser filling needs a steady 250°F (121°C) throughout the entire baking process. The internal temperature should hit exactly 145°F (63°C) before you take it out of the oven.
Let the cheesecake cool slowly in the turned-off oven with the door slightly open. This gradual cooling stops sudden temperature changes that often create surface cracks.
Mixing speed guidelines
The way you mix directly affects your filling’s final texture. Beat the cream cheese alone until smooth, but avoid high speeds that add too much air. Medium-low speed works best for the original cream cheese softening – about 30 seconds should do it.
Sugar needs five minutes to dissolve properly after you add it. Your mixer should never go above medium speed. This careful method keeps excess air bubbles out that might cause cracks during baking.
Here are specific mixing tips that work best:
- Use a paddle attachment instead of a whisk
- Keep speed on low after adding eggs
- Scrape down bowl sides between each addition
A food processor sometimes beats a stand mixer since its blades cut air out rather than whip it in. This helps create that smooth, dense texture that makes professional Philadelphia cheesecake filling special.
The finished cheesecake needs to chill at least 8 hours – overnight works better. This long cooling time lets proteins set right and gives you clean slices with perfect texture.
Conclusion
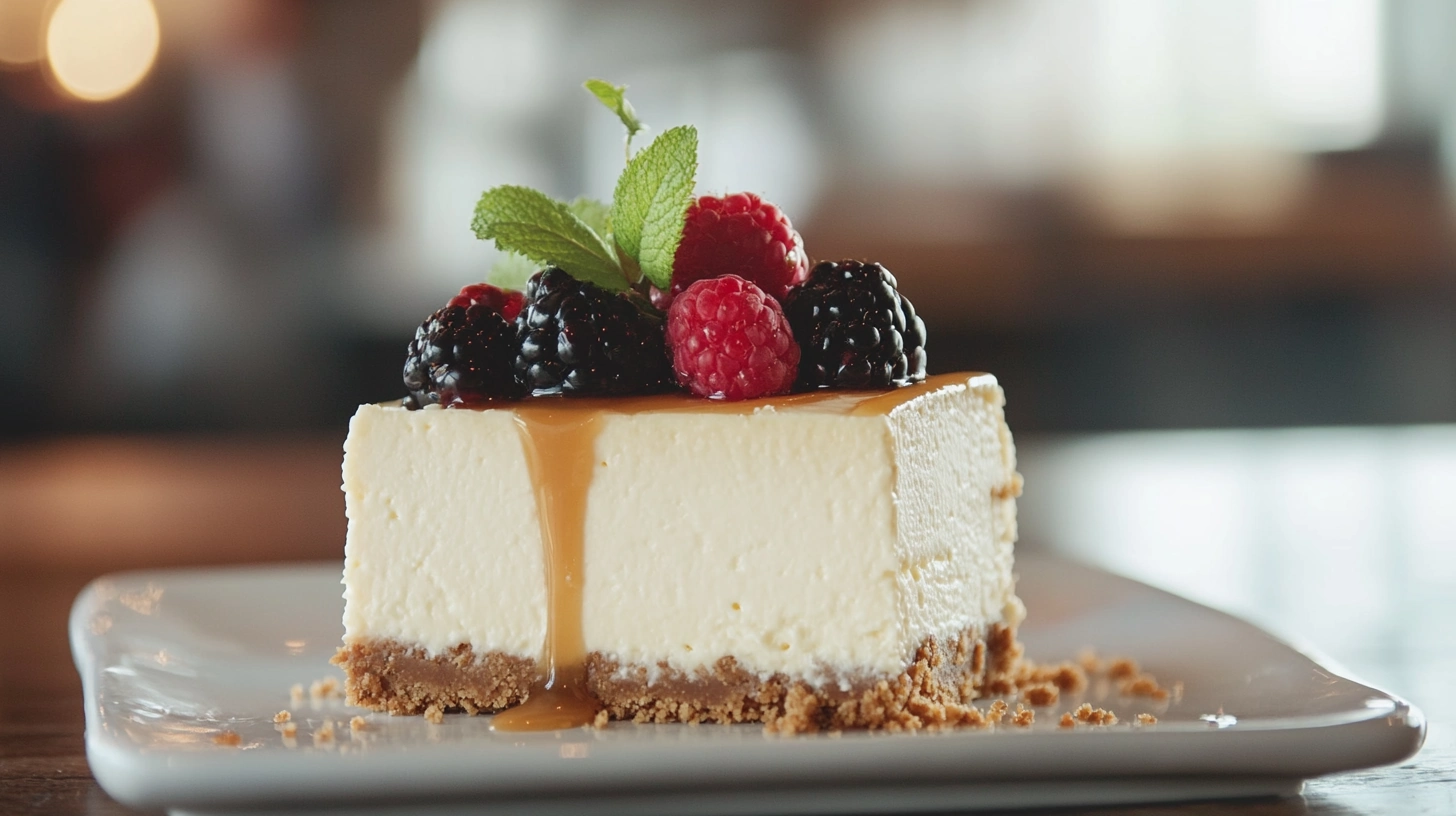
To become skilled at making Philadelphia cheesecake filling, you’ll just need to focus on three key elements: precise temperature control, proper ingredient handling, and careful mixing techniques. The recipe looks simple with just cream cheese, sugar, and eggs. Each ingredient just needs specific treatment to create that signature smooth, creamy texture.
Over the last several years, I’ve learned that room temperature ingredients and patient mixing build the foundation for success. Don’t rush the process. Take time to adjust temperatures properly and incorporate each ingredient carefully. This step-by-step approach prevents lumps, cracks, and grainy textures effectively.
The science behind the recipe leads to professional results. Your proteins will structure correctly when you maintain specific temperature ranges during mixing and baking. The perfect, slice-able consistency comes from proper cooling. It’s worth mentioning that overnight refrigeration transforms good results into exceptional ones.
These techniques and insights will help you create Philadelphia cheesecake filling that matches any professional bakery. Quality ingredients, careful temperature control, and proper mixing methods will reward you with perfectly smooth, creamy cheesecake consistently.
- How to Store Cheesecake Properly – Keep your cheesecake fresh and creamy for days by following the Food Network’s storage guide.
FAQs
Q1. How long can I store Philadelphia cheesecake filling?
When refrigerated and unopened, Philadelphia cheesecake filling can be stored until the “best by” date on the package. Once opened, it should be consumed within 7 days for optimal freshness and quality.
Q2. How can I tell if my cheesecake filling is properly baked?
A properly baked cheesecake filling will have a slightly jiggly center when gently shaken. The surface should appear matte rather than shiny, and the edges should be set. For precise results, the internal temperature should reach 145°F (63°C) before removing from the oven.
Q3. Is it possible to overmix cheesecake filling?
Yes, overmixing can negatively affect your cheesecake filling. Excessive beating incorporates too much air into the batter, causing the cheesecake to rise during baking and then deflate as it cools. This can lead to cracks and an undesirable texture.
Q4. What’s the best way to use ready-to-eat Philadelphia cheesecake filling?
Ready-to-eat Philadelphia cheesecake filling can be easily spooned into a graham cracker crust for a quick no-bake cheesecake. You can customize it by adding your favorite toppings such as fresh fruits or chocolate chips. It’s a convenient option for a delicious dessert without using the oven.
Q5. Can I add flavors to store-bought cheesecake filling?
Yes, you can experiment with adding flavors to store-bought cheesecake filling. For best results, try mixing in fruit juices, pie fillings, or gelatin for fruity variations. When adding dry mixes like pudding powder, it’s advisable to combine them with a little liquid first to prevent clumping. Always adjust the consistency as needed and consider adding a stabilizer like gelatin for the best texture.
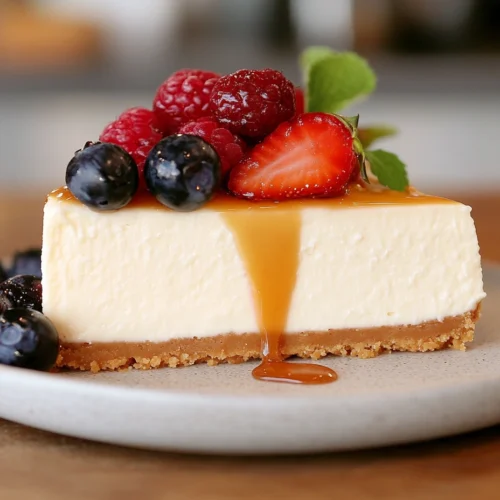
Philadelphia Cheesecake Filling
Equipment
- Stand mixer or hand mixer
- Mixing Bowl
- Spatula
Ingredients
Cheesecake Filling
- 32 oz Philadelphia cream cheese Full-fat, brick-style, room temperature
- 1 cup granulated sugar
- 3 large eggs room temperature
Instructions
- Let the cream cheese come to room temperature or warm it gently in the microwave using 15-second intervals at 50% power.
- Beat the cream cheese with a mixer on low speed until smooth and fluffy.
- Add the granulated sugar and beat on low speed for 5 minutes until fully combined.
- Lightly whisk each egg and add them one at a time, mixing gently after each addition. Scrape the bowl between additions.
- Once the batter is smooth and glossy, pour it into a crust-lined springform pan.
- Bake at 450°F (232°C) for 20 minutes, then reduce to 250°F (121°C) and continue baking until the center reaches 145°F (63°C).
- Turn off the oven, crack the door open, and let it cool inside for 30 minutes. Let it come to room temperature for 3 hours, then refrigerate for at least 8 hours or overnight.

